TOC
Digital cameras have significantly improved in dynamic range, and they can now rival the latest films in many situations. Unfortunately, one of the intrinsic limitations of the Foveon means that it suffers particularly in high contrast situations. Despite this, from this small inconvenience, I have drawn some lessons that can be useful with all digital cameras. Putting these small steps to good use will make it very easy to “squeeze” the sensor to its maximum. Let’s see them!
First, we must learn more about the sensor of our camera and understand its behavior well. When photographing on film it is common practice to overexpose to have detail even in the shadows, as it is almost impossible to “pierce” the highlights. With digital, on the contrary, it is precisely the highlights that must be kept under control. If we go to overexpose by mistake they will be easily burned, so it will be impossible for us to go and recover the lost signal. On the contrary, shadows in digital can be recovered in post-production with programs such as Lightroom even for values of different stops.
An image with high dynamic range like this one becomes possible also with “difficult” cameras, like the sigma ones.
The general consideration is that we should expose for the lights, but how? For this second step, we only need our camera, its light meter, and a blank wall. We position the camera in front of the wall, set the desired ISO (low is better), and read the scene with the light meter. Since it is a reflected light meter, therefore a spot, the camera will give us the exposure that returns the white wall as medium gray. Let’s go further now and set the exposure compensation to +1 stop, +2 stop, up to +3 stops. For greater accuracy, we also calculate the thirds of stops in the process. After this action we go with our files - strictly raw - on lightroom: they will be overexposed. Let’s reduce the exposure in post-production and try to understand to what extent the information (the texture of the wall, in our case) is recoverable. For some very performing machines, it will certainly be up to +3 stops, for others much less. In the case of my camera under review, a Sigma SD Quattro, the value is much lower and is around +2 stops and 1/3.
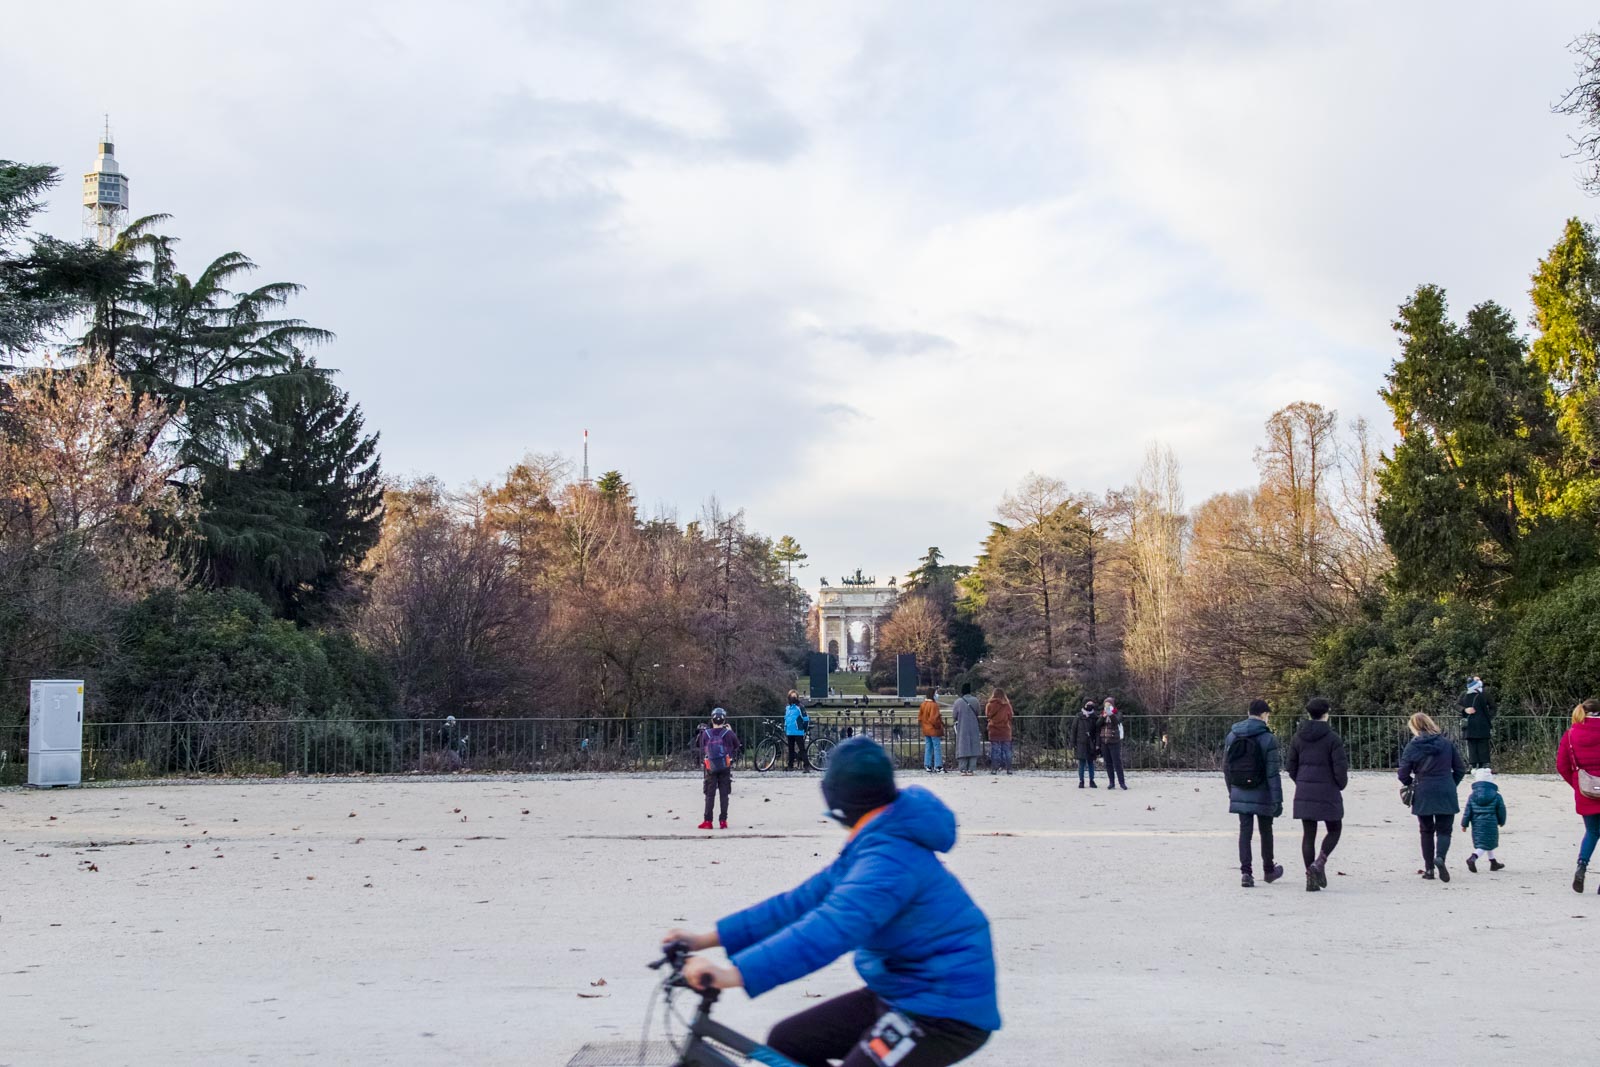
Now we know what the “upward” limit of our sensor is. Anything in the highlights that will be overexposed more than that value will be unrecoverable. With this simple information, we can now leave the house and go shooting! Let’s imagine now that we are in a park and try to get the maximum dynamic range, what should we do? First, we identify, in our scene, the point where the highlights will be. Let’s go over them and make an exposure reading. Let’s imagine that at ISO 100 the camera indicates on them a correct exposure at 1/125 of a second f16. To this reading, we are going to add the limit value of our camera, in my case +2 stops and 1/3. Now let’s shoot with the new aperture 1/100 of a second, but at f8 (approx.). The photo will immediately appear in-camera as wrong, but as we have already said the in-camera JPEG does not exist.

All the tools that we need (the external light meter is a plus!)
We go home and open a program for postproduction. We realize how the exposure on the lights is substantially correct, at most they need to be lowered a little. On the contrary, the shadows are very dark, but not bad, because as we said it is easy to recover them digitally! Let’s turn up the brightness in the shadows and that’s it! A photo with a high dynamic range made without the aid of HDR, multiple exposure, or degrading filters, but only making the most of the potential of our sensor!
The convenience of this method is that it is easily applicable and replicable. We can do the tests with each of our cameras with very little material and in a short time. Furthermore, this complicated method is easily automatable: if we use the exposure compensation ring and lock it while shooting, it will only take a few fractions of a second each time. However, this is not a suitable method for every situation, but particularly suitable for those high contrast scenes where it is necessary to reach the maximum possible dynamic range!
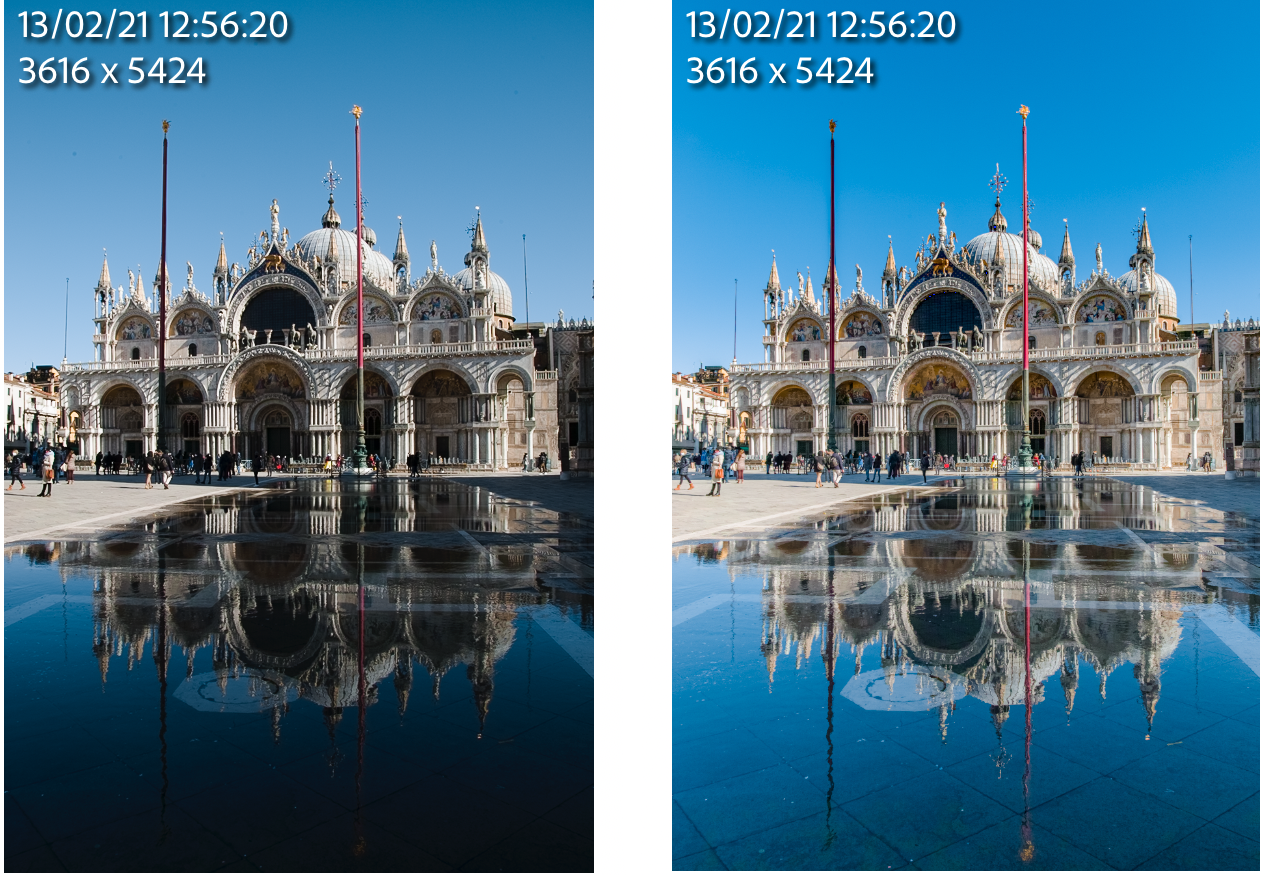
The first one is the RAW image and looks underexposed, but if we work on it a bit we can get amazing results!